Touchscreens have become an integral part of our daily lives, with most of us using them on our smartphones, tablets, and laptops. However, there may be times when you want to disable the touchscreen input on your device. This could be due to various reasons, such as preventing accidental touches, saving battery life, or for privacy purposes.
In this article, we will discuss how to disable touchscreen input on both Android and iPhone devices. We will also explore the different methods and settings available for each platform. So, let’s dive in and learn how to temporarily or permanently turn off the touchscreen on your device.

How to Disable Touchscreen Input on Android
Android devices offer a variety of methods to disable touchscreen input, whether it’s for a short period or permanently. In this section, we will discuss six different ways to achieve this on your Android device.
Using the Built-in Screen Pinning Feature
Screen pinning is a built-in feature on Android devices that allows you to lock your screen to a specific app. This is useful for parents who want to restrict their child’s access to certain apps or for users who want to temporarily disable all other apps on their device.
To use the screen pinning feature to disable touchscreen input, follow these steps:
- Go to your device’s Settings and select Security or Lock screen & security depending on your Android version.
- Scroll down and tap on Advanced or Advanced Settings.
- Look for the option Screen pinning or Pin Windows and toggle it on.
- Now, open the app that you want to pin and press the Recent apps button (usually a square icon at the bottom right corner).
- Swipe up on the selected app’s thumbnail to pin it to the screen.
- Next, tap on the thumbtack icon on the bottom right corner to lock the pinned screen.
- Your screen is now pinned, and the touchscreen input will be disabled until you enter your device’s PIN or pattern.
To unpin the app, press and hold the back and recent apps buttons simultaneously until the screen unpins.
Using Third-Party Apps
If your device does not have the screen pinning feature, you can use third-party apps to disable the touchscreen input temporarily. These apps work by creating an overlay on top of your screen, blocking all touchscreen inputs. This is useful for situations like watching videos, reading, or playing games without worrying about accidental touches.
Some of the popular apps for this purpose include Touch Lock, KidZone, and Touch Blocker. These apps offer additional features like locking specific areas of the screen or setting a timer to automatically unlock the touchscreen.
Using Developer Options
Android has a hidden menu called Developer options, which offers advanced settings and debugging options. To access it, follow these steps:
- Go to Settings and scroll down to About phone or About device.
- Look for the option Build number and tap on it seven times.
- A message will appear saying “You are now a developer.”
- Go back to the main Settings menu, and you will find the Developer options listed.
- Tap on Developer options and toggle it on from the top right corner.
- Scroll down and look for the option Pointer location under the Input section.
- Toggle off the option to disable the touchscreen input on your device.
Note that these settings may vary depending on the Android version and manufacturer of your device.
Using Screen Off Apps
Another way to disable touchscreen input on your Android device is by using screen off apps. These apps allow you to turn off your device’s screen quickly, and some also offer additional features like locking the screen or setting a timer for turning it back on.
One example of such an app is “Screen Off and Lock” by Kimcy929. This app allows you to use a shortcut button or gesture to turn off your screen instantly. It also has options to lock the screen, disable touchscreen input, and more.
Using a USB Mouse
If your device supports USB On-The-Go (OTG), you can connect a USB mouse to disable the touchscreen input. This method is useful if your device’s screen is damaged, and you are unable to navigate through the settings to disable the touchscreen.
To use this method, follow these steps:
- Connect a USB OTG cable to your device’s charging port.
- Connect the other end of the cable to a USB mouse.
- Your device will detect the connected mouse, and you will see a cursor on your screen.
- Use the mouse to navigate through your device and disable the touchscreen input from the settings.
- You can also use this method to navigate and use your device as usual without any touchscreen inputs.
Note that not all Android devices support USB OTG, so make sure to check your device’s specifications before trying this method.
Using Safe Mode
Safe mode is a diagnostic mode in Android that disables all third-party apps, services, and processes. This mode is helpful when your device is facing issues due to a specific app, and you want to troubleshoot the issue.
To boot your device into safe mode, follow these steps:
- Press and hold the Power button on your device.
- When the power menu appears, press and hold the Power Off option until a popup appears.
- Tap on OK to boot into safe mode.
- Your device will restart, and you will see a “Safe Mode” tag at the bottom left corner of your screen.
- In safe mode, all third-party apps will be disabled, and you can use your device without worrying about any touchscreen inputs.
To exit safe mode, simply restart your device.
By using these six methods, you can easily disable touchscreen input on your Android device for a short period or permanently. Let’s now move on to iPhone devices and explore how you can achieve this on iOS.
How to Disable Touchscreen Input on iPhone

Similar to Android devices, iPhone offers various methods to disable touchscreen input temporarily or permanently. In this section, we will discuss six different ways to achieve this on your iPhone.
Using Guided Access
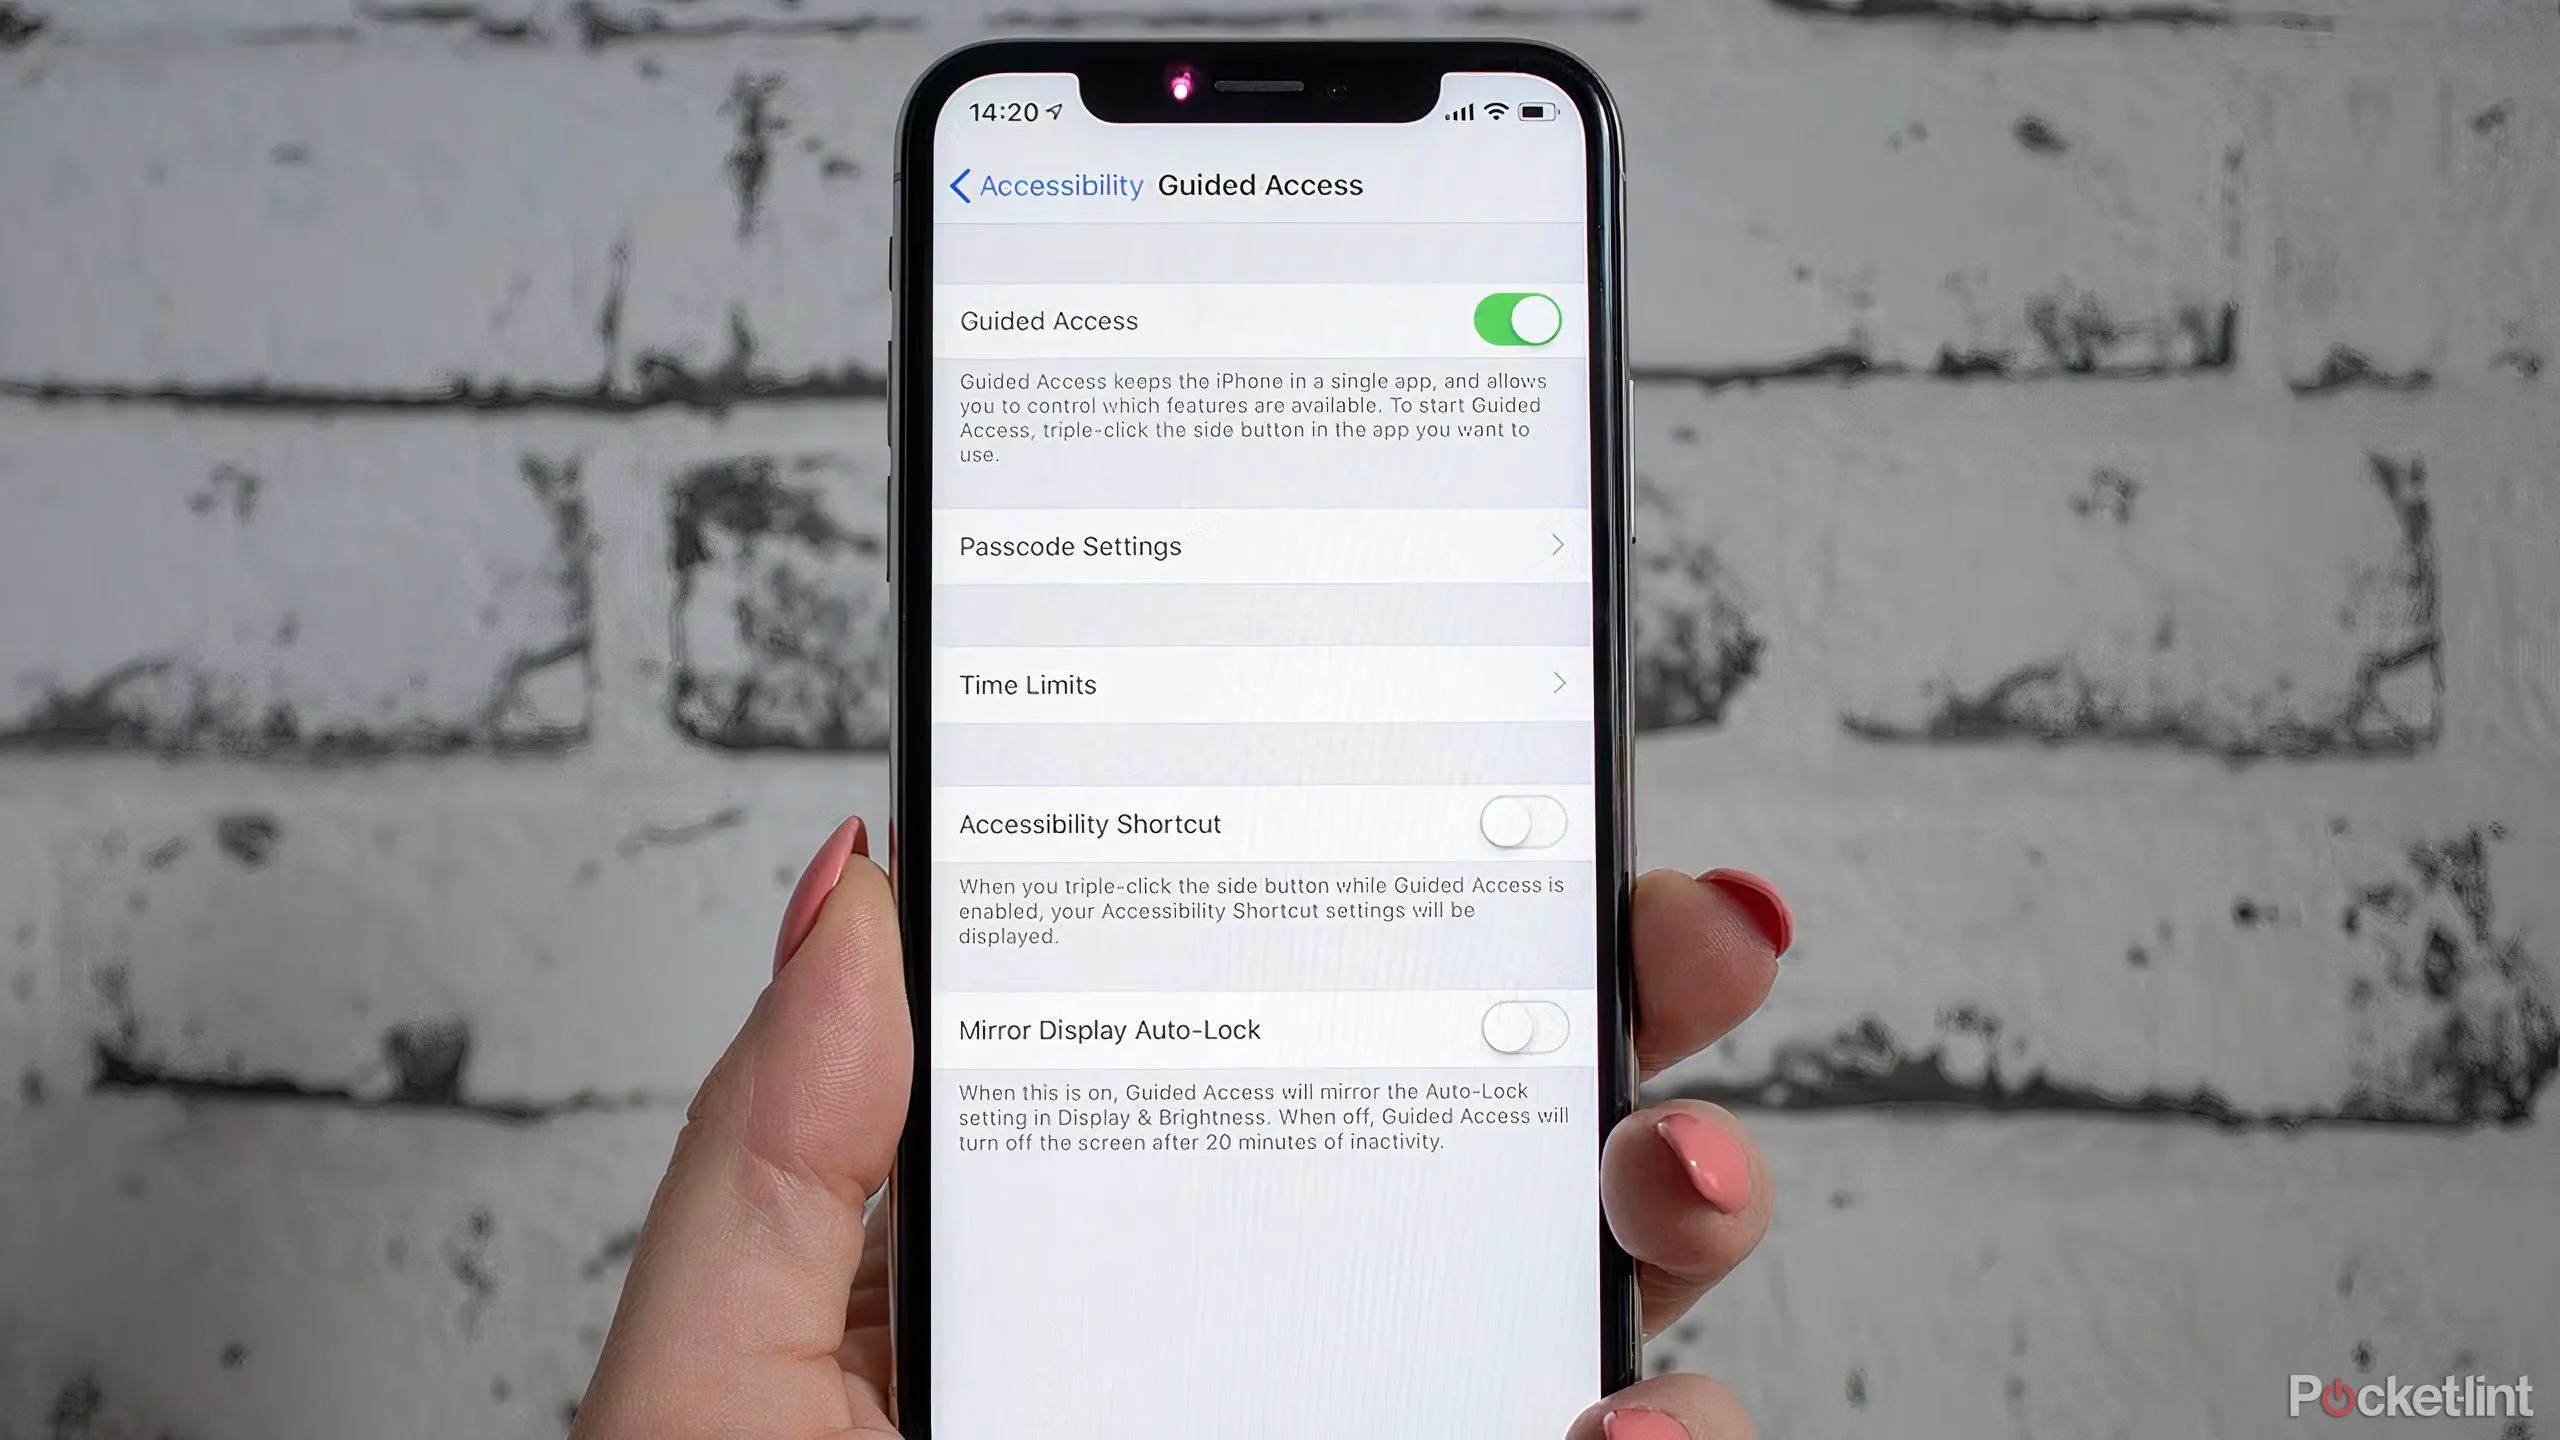
Guided access is a built-in feature on iOS devices that restricts your device to a single app. This is useful when you want to prevent someone from accessing other apps or features on your device. You can also use guided access to disable touchscreen input by following these steps:
- Open the app that you want to use and triple-click on your Home button (or Side button on newer iPhones).
- Tap on Guided Access from the popup menu.
- Toggle on the option Guided Access from the top right corner.
- Now, tap on Options to customize the settings for guided access.
- Here, you can disable the touchscreen input by toggling off the Touch option.
- Once done, tap on Start to begin guided access.
To exit guided access, triple-click on the Home or Side button again and enter your device’s passcode.
Using AssistiveTouch
AssistiveTouch is another built-in accessibility feature on iOS devices that creates a virtual button on your screen. This button allows you to perform various actions like taking screenshots, accessing the control center, and more. You can also use AssistiveTouch to disable touchscreen input on your device by following these steps:
- Go to Settings and select Accessibility.
- Scroll down and tap on AssistiveTouch.
- Toggle on the option AssistiveTouch.
- Tap on Customize Top Level Menu… and add the AssistiveTouch button to the menu.
- Now, tap on the AssistiveTouch button, and then tap on Device.
- In the device menu, toggle off the option Touch to disable touchscreen input.
To re-enable the touchscreen, simply toggle on the Touch option.
Using Screen Time
Screen Time is a feature introduced in iOS 12 that helps you track and manage your device usage. It also offers options to set app limits, downtime, and restrict specific apps on your device. You can use Screen Time to temporarily disable touchscreen input by following these steps:
- Go to Settings and select Screen Time.
- If you haven’t already set up Screen Time, tap on Turn On Screen Time and follow the instructions.
- Once done, tap on App Limits and select Add Limit.
- Here, choose All Apps & Categories and set the limit to one minute (the minimum allowed).
- Tap on Add from the top right corner.
- Next, go back to the main Screen Time menu and tap on Downtime.
- Toggle on the option Downtime and set the start and end time to “Now” and “One minute later,” respectively.
- Once done, you will receive a notification that your device will lock itself after the specified time.
- When your device locks, you will see a “Time Limit” screen with the option to Ignore Limit or Ask For More Time.
- Tap on Ignore Limit, and your device will be temporarily disabled from touchscreen inputs until the next day.
To re-enable touchscreen inputs, simply wait until the set downtime is over.
Using Guided Access With Face ID

If you have an iPhone with Face ID, you can use guided access with facial recognition to disable touchscreen input. This method allows you to use your entire screen without worrying about accidental touches, and it comes in handy while using your device in bed or with gloves on.
To use this method, follow these steps:
- Open the app that you want to use and triple-click on your Side button.
- Tap on Guided Access from the popup menu.
- Toggle on the option Guided Access from the top right corner.
- Next, tap on Options and toggle on the option Face ID under Accessiblity Shortcut.
- Now, tap on Accessibility Shortcut and select Guided Access.
- Go back to the main guided access screen and tap on Start.
In this mode, you can use your entire screen and disable touchscreen inputs by looking away from the screen or pressing the side button three times. To exit guided access, press and hold the side button until the power off slider appears, and then swipe to turn off your device.
Using Keyboard Shortcuts
For users who prefer external keyboards on their iPhones, you can use specific keyboard shortcuts to disable the touchscreen input. This method is useful when you want to use your iPhone as a secondary screen or while using it with a keyboard cover.
To use this method, follow these steps:
- Connect an external keyboard to your iPhone.
- Press and hold the Command key (⌘) on your keyboard until you see a list of available shortcuts.
- Scroll down and tap on Turn Off Screen.
- Your screen will now turn off, and the touchscreen input will be disabled.
To re-enable the touchscreen, press the power button or any key on your keyboard.
Using Screen Off Apps
Similar to Android devices, you can use screen off apps on your iPhone to disable the touchscreen input. These apps work by creating an overlay on top of your screen, blocking all touchscreen inputs. Some popular options for iOS include Touch Protector, Touch Lock, and Kidslox.
Conclusion
In conclusion, both Android and iPhone devices offer various methods to disable touchscreen input for a short period or permanently. You can use built-in features like screen pinning, guided access, and assistive touch, or opt for third-party apps or hardware solutions like USB OTG cable and external keyboards.
By following the methods described in this article, you can easily disable touchscreen input on your device and prevent accidental touches, save battery life, or maintain privacy. We hope this article was helpful, and you can now enjoy a more controlled and focused experience on your Android or iPhone device.
