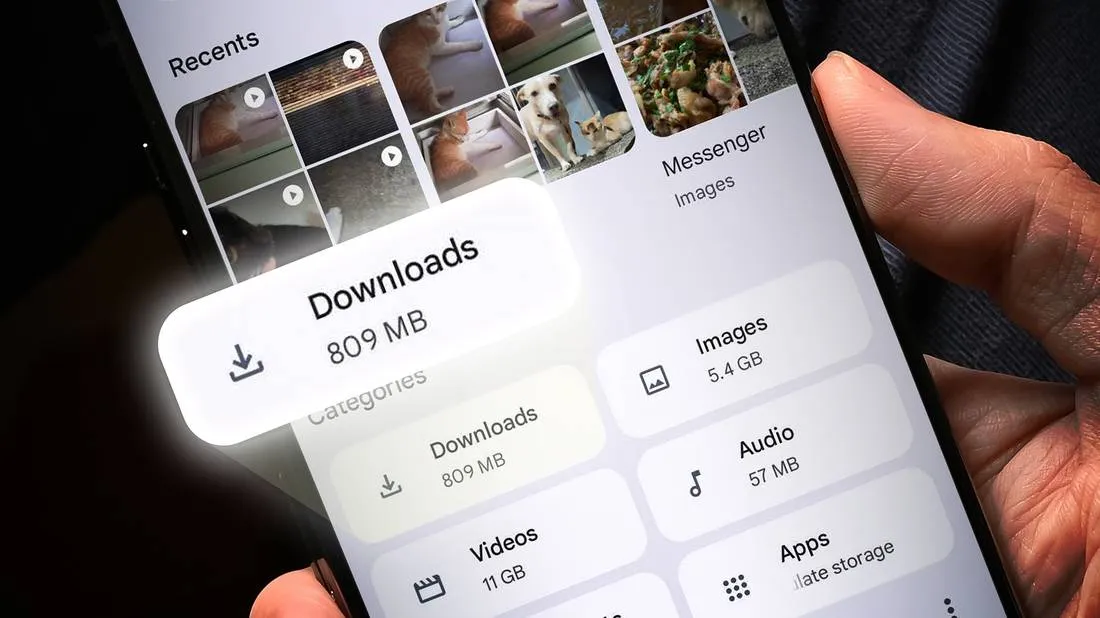
As the world becomes increasingly digital, our dependency on smartphones has grown significantly. We use them for communication, entertainment, and even for work-related tasks. With so many apps and files being downloaded on our Android devices, it can often become overwhelming to keep track of them all. Sometimes, we may need to find a certain download that we had saved on our phone but struggle to locate it. This is where knowing how to find downloads on your Android device comes in handy.
If you’re new to the Android world or simply someone who isn’t very tech-savvy, don’t worry. In this article, we will guide you through the process of finding downloads on your Android device step by step. We’ll cover various methods and tools that will help you locate your downloads quickly and easily. So, let’s dive in!

1. Using the Downloads App
The simplest way to find your downloads on an Android device is by using the Downloads app. This app comes pre-installed on most Android devices and allows you to view all the files that have been downloaded on your device. Here’s how to use it:
Step 1: Open the Downloads App
To access the Downloads app, go to your app drawer and look for the Downloads icon. It usually looks like a downward-pointing arrow in a box.
Step 2: View Your Downloaded Files
Once you open the app, you will see a list of all the files that have been downloaded on your device. By default, the files are sorted by date with the most recent files being displayed at the top. You can tap on any file to open it or long-press to select multiple files.
Step 3: Use the Search Bar
If you have a lot of downloaded files and need to find a specific one, you can use the search bar at the top of the Downloads app. Simply type in the name of the file you’re looking for, and it will show up in the results.
2. Using the File Manager App
If your device doesn’t have the Downloads app or if you prefer a more organized way of managing your downloads, you can use a third-party file manager app. These apps not only allow you to view your downloads but also give you the option to sort them into different folders. There are many file manager apps available on the Google Play Store, but some popular ones include ES File Explorer and Solid Explorer.
Step 1: Download a File Manager App
First, you need to download and install a file manager app from the Google Play Store. Once installed, open the app to begin.
Step 2: Locate the Download Folder
By default, most file manager apps have a Downloads folder already created. If not, you can create one yourself. This folder will contain all your downloaded files.
Step 3: View Your Downloads
Once you have located the Downloads folder, you can tap on it to view all your downloaded files. You can also create subfolders within this folder to organize your files further.
Step 4: Use the Search Function
Similar to the Downloads app, most file manager apps also have a search function that allows you to look for specific files. Just tap on the search icon and type in the name of the file you’re looking for.
3. Using Google Drive
If you use Google Drive for file storage, you can easily access your downloaded files through the app. This method is especially useful if you have limited storage space on your device and need to free up some space by moving your downloaded files to the cloud.
Step 1: Download the Google Drive App
If you don’t have the Google Drive app installed on your device, you can download it from the Google Play Store.
Step 2: Open the App and Sign In
Once the app is installed, open it and sign in using your Google account credentials. If you don’t have a Google account, you can create one for free.
Step 3: Access Your Downloads
Once you’re signed in, you will see all your files stored on Google Drive. To access your downloaded files, tap on the My Drive option at the bottom of the screen and then select Downloads from the drop-down menu.
Step 4: Move Files to Google Drive
If you want to free up space on your device by moving your downloaded files to Google Drive, simply select the files you want to move and tap on the three dots icon at the top-right corner. Then, select Move To and choose the location where you want to move the files to.
4. Using a Third-Party Download Manager

If you frequently download large files on your Android device, using a third-party download manager can be very helpful. These apps not only make it easier to manage your downloads but also offer features like pause and resume downloads, download scheduling, and more. Some popular download managers for Android include Advanced Download Manager, Turbo Download Manager, and Download Accelerator Plus.
Step 1: Download a Download Manager App
First, you need to download and install a download manager app from the Google Play Store. Once installed, open the app to begin.
Step 2: Configure the App
Most download manager apps have a built-in browser that allows you to download files directly through the app. You can also set the default download location and other settings according to your preference.
Step 3: Download Files
Once the app is configured, you can use it to download files from the web. Simply tap on the download link, and the app will take over the download process.
Step 4: Manage Your Downloads
You can view all your downloads within the app and use its features to manage them. You can also use the search function to find specific files quickly.
5. Using Google Chrome
If you prefer downloading files through your mobile browser, you can still easily access and manage your downloads using Google Chrome. Here’s how:
Step 1: Download a File Through Chrome
When you tap on a download link while using Google Chrome, it will automatically start downloading the file in the background. You can see the progress of the download by swiping down from the top of your screen.
Step 2: View Your Downloads
Once the file has finished downloading, you can tap on the notification or go to your Downloads folder to view it. You can also access your downloads by opening Google Chrome, tapping on the three dots icon at the top-right corner, and selecting Downloads from the menu.
Step 3: Clear Your Download History
If you want to clear your download history, you can do so by going to the Downloads section in Google Chrome and tapping on the three dots icon at the top-right corner. Then, select Clear All Downloads from the menu.
6. Using a Download Tracker App
![]()
Lastly, if you want to keep track of your downloads and monitor their progress, you can use a download tracker app. These apps display all your current and completed downloads in one place and also provide useful information like download speed, size, and remaining time. Some popular download tracker apps include Download Progress++ and Loader Droid Download Manager.
Step 1: Download a Download Tracker App
First, download and install a download tracker app from the Google Play Store. Once installed, open the app to begin.
Step 2: Start a Download
To start a download, simply copy the download link and paste it into the app. You can also use the in-app browser to find and download files.
Step 3: Monitor Your Downloads
Once your download has started, you can monitor its progress within the app. You can also see all your completed downloads in the Completed or History tab.
Conclusion
Knowing how to find downloads on your Android device is an important skill that can save you a lot of time and hassle. Whether you prefer using a native app, a third-party file manager, or a download tracker app, there are many options available to help you locate your downloaded files easily. We hope this article has provided you with all the necessary information and tools to make managing your downloads a breeze. Happy downloading!
