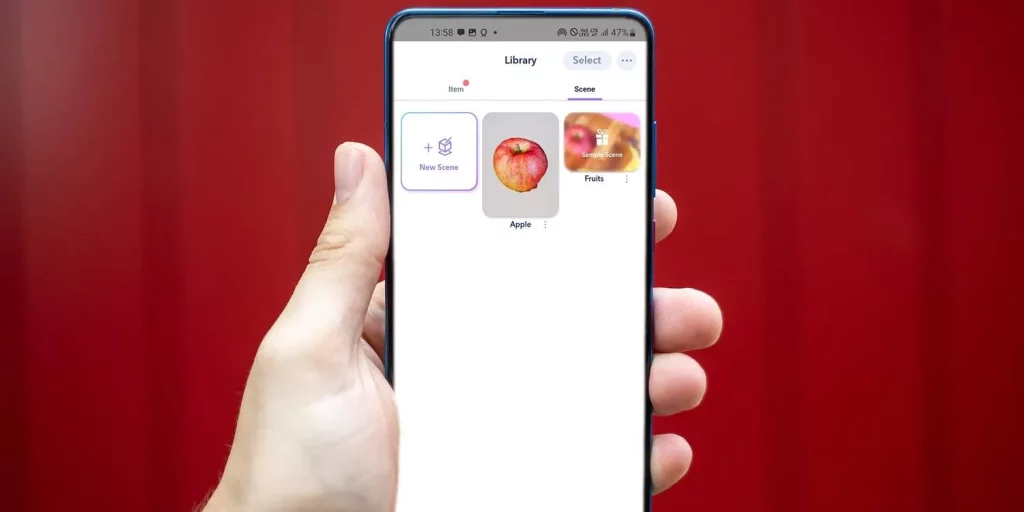
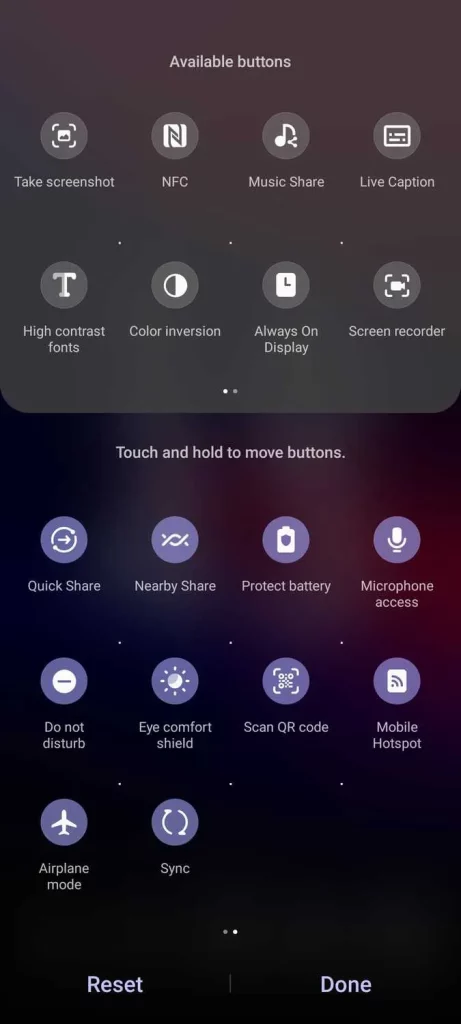
Taking screenshots on your Android device is a useful feature that allows you to capture and save images of your screen. Whether you want to share a funny meme, save an important conversation, or record a step-by-step guide, taking screenshots on your Android phone or tablet comes in handy.
But with so many different models and versions of Android devices, it can be confusing to figure out how to take a screenshot. Fear not, as we have compiled a comprehensive guide to help you take screenshots on various Android devices. From the traditional button combination method to third-party apps, we’ve got you covered. So let’s dive in and learn the 6 ways to take screenshots on Android.

1. Using the Traditional Button Combination Method
The most common and standard method of taking a screenshot on Android is by using the button combination. This method works on almost all Android devices regardless of the manufacturer or model. Here’s how to do it:
Step 1: Locate the Power and Volume Down Buttons
On most Android devices, the Power button is located on the right side, while the Volume Down button is typically found on the left side. If these buttons are not present on the sides, then they might be placed on top or at the bottom of the device.
Step 2: Press the Buttons Simultaneously
Press and hold down the Power button and the Volume Down button at the same time. Hold them for a few seconds until you see a flash on the screen or hear a shutter sound.
Step 3: View Your Screenshot
You can now view your screenshot by swiping down the notification bar at the top of your screen. The screenshot will be displayed along with other notifications. You can also access it through your Gallery app.
Tips:
- If your device has a Home button, you can also use the Power button and the Home button to take a screenshot.
- Some devices may require you to press and hold the buttons for a longer time to take a screenshot.
2. Using Palm Swipe Gesture
If you find the button combination method too cumbersome, you can try using the palm swipe gesture to take a screenshot on your Android device. This method is available on most Samsung Galaxy devices and works similarly to a swipe motion.
Step 1: Enable Palm Swipe Gesture
Go to your device’s Settings and select “Advanced Features.” From there, toggle on the “Palm swipe to capture” option.
Step 2: Capture Your Screenshot
Open the screen that you want to capture and place your hand vertically on either side of your device’s screen. Then, swipe your hand horizontally across the screen. You should see a flash on the screen or hear a shutter sound, indicating that the screenshot has been taken.
Step 3: Access Your Screenshot
Just like the previous method, you can access your screenshot through the notification bar or your Gallery app.
Tips:
- Make sure to keep your hand flat and straight while swiping to avoid accidentally taking screenshots.
- This method can also be used to capture longer screenshots by swiping down the entire length of the screen.
3. Using Google Assistant

Google Assistant is a powerful virtual assistant that can do a lot more than just answer your questions. It can also help you take screenshots on your Android device. Here’s how:
Step 1: Say the Command
Activate Google Assistant by saying, “OK Google” or by holding down the Home button. Then, say the command, “Take a screenshot.”
Step 2: View Your Screenshot
Your screenshot will automatically be saved in your device’s Gallery, and you can access it from there.
Tip:
- If you have a Google Home device, you can also use voice commands to take screenshots on your Android phone.
4. Using Third-Party Apps
If the above methods don’t work for you or if you want more advanced features, you can turn to third-party apps to take screenshots on your Android device. Here are two popular apps that you can try:
1. Screenshot Easy
Screenshot Easy is a free app available on the Google Play Store that offers various ways to take screenshots on Android. You can use the button combination, shake your device, or use the notification bar to capture your screen. The app also allows you to edit and annotate your screenshots before saving them.
2. Screenshot Touch
Screenshot Touch is another useful app that lets you take screenshots with one tap. You can capture your entire screen, a specific part of the screen, or scroll down to take long screenshots. The app also has a built-in photo editor to add text, crop, or blur your screenshots.
Tips:
- Make sure to read the reviews and check the ratings before downloading any third-party app.
- Some apps may contain ads or require in-app purchases for full functionality.
5. Taking Screenshots on Older Android Versions
If you’re using an older version of Android (before Android 9 Pie), the button combination method may not work for you. In such cases, you can try one of these methods:
Using the Power and Home Buttons
On devices with a physical Home button, you can press and hold down the Home button and the Power button simultaneously to take a screenshot.
Using the Power and Volume Up Buttons
For devices without a Home button, you can try pressing and holding down the Power button and the Volume Up button at the same time to take a screenshot.
6. Taking Screenshots on Custom Android ROMs

Custom Android ROMs offer a wide range of customization options, including different ways to take screenshots. While this may vary depending on the custom ROM you’re using, here are some common methods:
Using the Menu Button and Power Button
Some custom ROMs have a dedicated Screenshot button in the menu options. You can also press and hold the menu button and then press the power button to take a screenshot.
Using the Three-Finger Swipe Gesture
Another common way to take screenshots on custom ROMs is by swiping down with three fingers on the screen. This method works similarly to the palm swipe gesture mentioned earlier.
Using Notification Bar Shortcuts
Many custom ROMs offer quick access to various features through the notification bar. You can check your device’s notification bar for a shortcut to take a screenshot.
Conclusion: Try What Works Best for You!
In conclusion, taking screenshots on Android devices can be done in multiple ways, each with its own advantages and disadvantages. While some methods may be more convenient or accessible than others, it’s always good to know your options. Whether you prefer the traditional button combination method or want to explore third-party apps, use what works best for you and make your life easier. We hope this guide has helped you learn the 6 ways to take screenshots on Android, and you can now capture and save all your favorite moments with ease.


